The flexibility and efficiency of the Flutter app have made it popular among businesspeople and developers alike. Flutter allows developers to build extraordinary applications using a single codebase. Developers can build applications across multiple platforms, including mobile, desktop, and web, with the help of a single codebase. Further, it features cross-business capabilities to enable businesses to target a huge network of audience network, reducing development costs and labour.
But do you know that integrating AI (Artificial Intelligence) can further enhance the whole thing for you. In fact, in today’s time, when AI has become an integral part, it is essential to know how to integrate this newest technology when building custom Flutter apps. Integrating AI can help enhance the user experience in today’s ever-evolving digital marketing landscape. AI not only automates tasks, but it also offers personalised content and recommends intelligent solutions to users’ problems. All in all, with its effortless integration, you can redefine the experience of users using the app.
So, if you are looking for ways to successfully integrate AI into your custom Flutter apps, read this post. To put your confusion at bay, we have rounded up the information on how to integrate AI into your custom Flutter app successfully. Read on!
What Is AI-Integrated Flutter App?
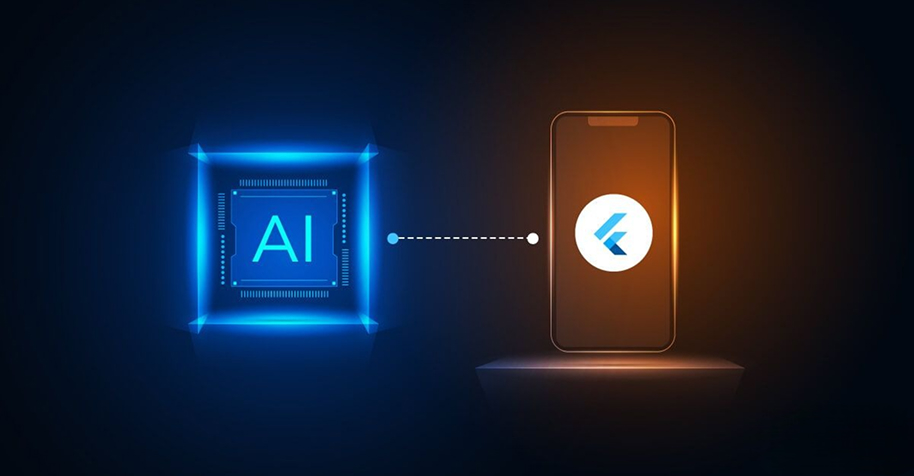
AI-integrated Flutter app is a mobile application that is built using the Flutter framework. These applications seamlessly embed artificial intelligence technologies and capabilities in order to deliver smarter and more personalized user experiences. Unlike apps that do not integrate AI capabilities, AI-integrated Flutter applications go beyond traditional functionalities. This is because they incorporate features like natural language processing for chatbots, image and voice recognition, predictive analytics, and recommendation engines to enhance the functionalities of the application.
By combining AI’s power with Flutter’s cross-platform development capabilities, developers and a professional Flutter App Development Company can build applications that not only run smoothly on multiple platforms, including Android and iOS, but also adapt intelligently to user behaviour. AI-integrated Flutter apps effectively connect innovation with usability, enhancing interactivity, efficiency, and readiness for the future.
Step-by–Step Guide to Integrate AI into Your Custom Flutter App
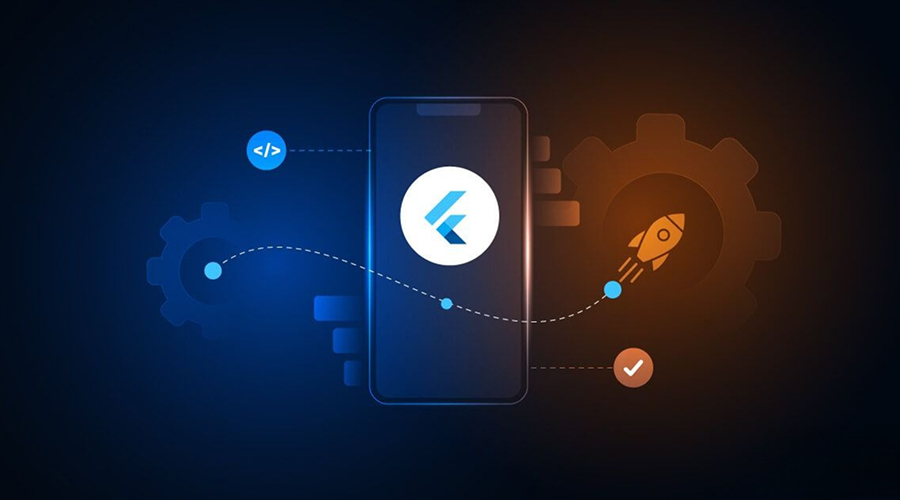
AI is no longer a futuristic concept. it is, in fact, a practical tool that can take your Flutter app to the next level. AI integration can make your custom app smarter and more impactful. If you would like to learn more, please continue reading this section. This step-by-step guide will walk you through the process of seamlessly integrating AI into your Flutter project, even if you’re just starting out. Take a look…
STEP 1: Begin by Defining Your Objectives
First, start by determining your objectives. Identify which AI features you want to integrate to meet your app’s goals. Simply put, you should know which features, such as image processing, voice recognition, etc, add to the custom Flutter app. Suppose you want to integrate predictive analytics functionality.
The AI model that will work for predictive analytics will not work for image processing. Hence, defining the goal will help you select the most appropriate and beneficial AI model and tool for your application. For instance, if you want object recognition in real-time, TensorFlow Lite will help you enhance the user’s experience.
STEP 2: Choose AI Frameworks Wisely
The next step to ensure seamless integration of AI into your custom Flutter app is to choose a suitable AI framework. Yes, there are numerous AI frameworks available out there and you have to be really clear when choosing one for your project. Some popular frameworks include Firebase ML Kit, TensorFlow Lite, and PyTorch. These tools efficiently integrate optimal machine learning functionalities into your custom Flutter app. Take a look at the following pointers to understand their peculiarities and make an informed decision:
- Firebase ML Kit enables you to enjoy a seamless experience of face detection and voice recognition on the Flutter application.
- TensorFlow Lite ensures fast, reliable performance by running AI algorithms on Android or iOS devices.
- Do you want to personalise your experience with AI solutions? A PyTorch model will help you with that. It consists of varied machine learning models, allowing you to choose the most suitable one.
STEP 3: Set Up the Environment and Dependencies
Once you have chosen an ideal AI framework for your project, it’s time to set up the environment and dependencies. For this, you should know which essential tools and plugins can help you integrate AI into the custom Flutter app. Make sure the environment you want to set up is compatible with the necessary machine learning tools. Here are the following steps you need to follow for a seamless set-up experience:
- First, begin by setting up your Flutter app dev environment.
- Ensure you are using the updated and configured Flutter SDK version.
- Know which AI dependencies are essential to add to the pubspec.YAML file.
Choose only the latest Flutter AI packages; Make sure your selected packages are compatible with the updated version. Take a look at the following pointers to know about the core packages and make a well-informed decision:
- Tflite_flutter – TensorFlow Lite integration
- Google_ml_kit – Google AI services
- Flutter_tts – Text to speech
For a seamless AI integration process, make sure you configure the following app permissions:
- Camera permission: For image detection
- Microphone permission: For voice-to-text typing
- Internet permission: For the enhanced integration of cloud-based AI services.
It will enhance a seamless visitor’s workflow, minimising obstructions in its integration.
STEP 4: Select or Develop AI Models
Is your development environment ready? If yes, then you need to select the most compatible AI model. Apart from this, you can even design one for your custom Flutter app, especially when you have peculiar requirements, such as image recognition, voice-to-text processing, etc. Keep in mind that AI frameworks, like TensorFlow or PyTorch, feature tailored solutions.
You can take advantage of these solutions to build custom models for your app. Aside from that, you are advised to select pre-trained models for the Flutter app. These are faster in performance and can efficiently help you meet your business requirements. This way, they save time and money to a great extent.
STEP 5: Integrate TensorFlow Lite Models into Flutter
Is your machine learning model ready? It’s time to integrate the pre-trained or custom-made model into the Flutter app. This will help bring the vision of using AI functionalities into the Flutter app to life. For this, you need to use the API or SDK versions provided by the machine learning frameworks. Check out the following pointers to know how to embed TensorFlow Lite into the Flutter app:
- Use the TensorFlow Lite Interpreter to use the selected model in your custom Flutter app.
- Keep in mind to upload models not at the same time during app initialization. It is a necessary step to prevent interruptions in the user interface.
- Next, you need to incorporate pre-processing and post-processing pipelines for optimal results. Remember, if you want to integrate the case of image processing, you need to embed pre-processing steps, such as resizing and normalization. Conversely, text processing requires tokenization and encoding steps to be followed.
Also Read: Why Choose Flutter for Food Delivery App Development?
STEP 6: Embed Firebase ML Kit Model into Flutter
If you choose Firebase ML Kit, you will get the assistance of an easy-to-use API version. This will help you integrate machine learning features, like text recognition and barcode scanning, in no time. Take a look at the following steps to ensure a seamless integration process:
- Select which Google ML Kit services you need based on your Flutter app’s objectives.
- Embed a camera into the app. This will enable AI processing in real time. You can avail of the app’s camera plugin to shoot video streams or images. Then, do the real-time processing through API calls for fast, reliable results.
- Handle the outcomes you achieve in your user interface.
- Now, you can exhibit detected faces/images, recognised text, or translations depending on the ML Kit Service responses.
- Make sure you know how to handle errors in case the AI services/features fail.
STEP 7: Integrate Conversational AI Capabilities
The next step is to integrate conversational AI capabilities into your Flutter custom app. With the support of the OpenAI Flutter app integration, developing conversational interfaces becomes easy and seamless. Check out the following steps to learn how to embed conversational AI capabilities into the custom Flutter app:
- Get AP credentials using the OpenAI framework.
- Configure them safely within your application.
- It will enable you to develop conversational flows.
- Design them based on your custom Flutter app’s objectives.
- You need to create response templates based on the user intent.
- And yes, make sure you implement the optimal context management strategy to ensure coherence in conversations across all interactions.
- Keep in mind that users always expect an immediate response when chatting with an AI bot. Hence, make sure you integrate a progressive response display to show AI-generated responses.
STEP 8: Testing and Optimization
After implementing AI features into the custom Flutter app, you need to test them to ensure they are producing the desired results as they are intended to do so. The procedure of testing will help you validate the high-end performance, reliability, and accuracy of AI features. Besides this, optimization ensures the efficient functioning of AI models on mobile devices. Throughout the process, it confirms that there will be zero chances of lagging or excessive battery draining.
Follow the following steps to enable the testing and optimization of all AI features with varied datasets:
- Get started with a reliable AI MVP development service
- Implement the tool of performance monitoring for seamless AI operations
- Track the accuracy of machine learning metrics
- Also, measure response times and resource efficiency to ensure a seamless user experience on the app
- Make essential adjustments as needed, such as increasing the processing speed or diminishing the AI model size.
STEP 9: Deploying the Flutter App
Once you have tested the Flutter app, it’s time to deploy your newly created application. Deploying an application once it is developed fully is a crucial step. It ensures the long-term success of the application. Once development and testing are complete, you can publish the app to platforms like Google Play Store and Apple App Store to make it accessible to users worldwide.
Also Read: Flutter App Development Cost in 2025: A Complete Guide
STEP 10: Monitoring the App
Last but not least is to monitor the app after it has been deployed. It is crucial to continuously monitor the app. Continuous monitoring is essential to track performance, detect errors, and gather real-time user feedback. The consistent and constant monitoring will allow you to detect potential risks of failure.
Based on the assessment, you can work on the areas of improvement using the proactive approach. You can consider using tools, like Firebase Crashlytics, Google Analytics, or custom monitoring dashboards, developers to ensure smooth functionality, optimize performance, and roll out timely updates. This ongoing cycle of deployment and monitoring guarantees that your Flutter app remains stable, efficient, and aligned with user expectations.
Aside from that, make sure you get the user feedback continuously. It will help you know how users are interacting with integrated AI features. By taking the support of regular feedback, you can find new areas of improvement to make the Flutter app a better version than before.
The Bottom Line
So, these are the steps you need to follow to successfully integrate AI into your custom Flutter app. Understanding how to integrate AI into the custom Flutter app is essential to enjoying a seamless process. It comes with numerous benefits, including enhanced user engagement, automating tasks, etc. However, it is worth noting that integrating AI into your custom Flutter application is not simply about adding cutting-edge features.
There is more to it. By integrating AI into your custom app, you actually try building a smarter, more engaging, and future-ready application to give users the next level experience. However, it is crucial to carefully plan you AI use cases, leverage the right tools and frameworks, and follow a structured step-by-step approach to build a solution that adapts to user needs. Hence, start by defining objectives and selecting the most appropriate framework.
It will help you seamlessly embed AI features into your custom Flutter app. Also, it is crucial to pay attention to the deployment and monitoring of the application. Doing so ensures your app continues to evolve with real-world feedback. So, use this step-by-step guide and get ready to enter the world of innovation and long-term success with an AI-integrated custom Flutter app. Hopefully, this article has been informative for you.
Thanks for reading!
Stay tuned for more such insightful articles!


