Technology is a major part of our lives now; it helps in making our lives easier and gives us comfort in the best possible way.
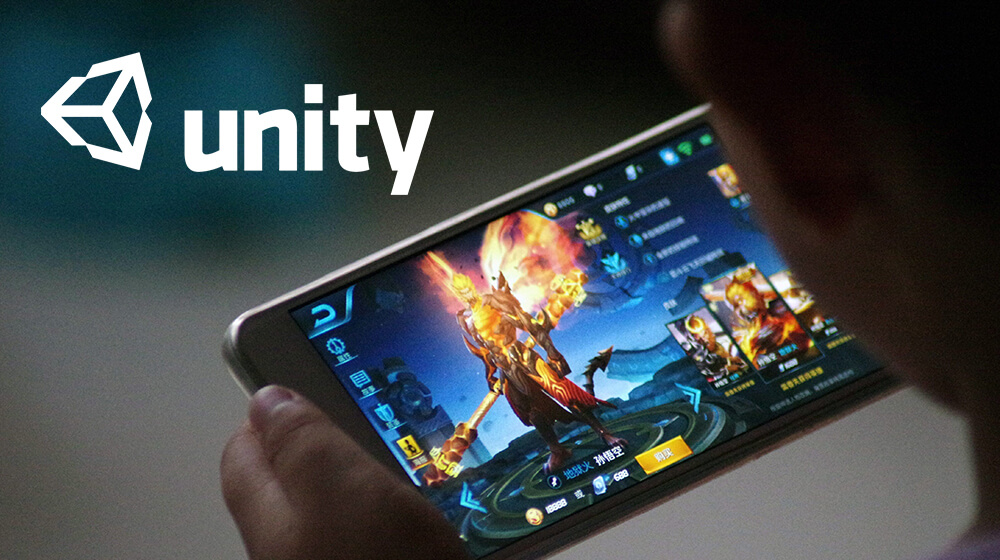
All of us must have heard about the Unity if you are more into games and it is quiet popular amongst the small and big developers. Unity 3D is the new technology arrived in the market and has proven to be beneficial the most to the developers. Looking at an increasing trend of the games, 3D engine has been launched which is user friendly and is quiet powerful too. To put down in simple words unity 3D is a game engine tool that helps the developers in creating the video games.
3D engine is a type of physics engine that helps in the management of the laws and behavior of games, graphics, and lighting and include the handling of elements like gravity and momentum. Creating the 3D engine from the scratch requires you to code everything from the very beginning.
There are many 3D engines existing in this generation, but of all those Unity3D is called to be the most convenient one to use and is quiet popular by the name game maker. Game created using Unity3D is publishable in all the platforms including Android, iOS, Windows, Linux, PS4 and Xbox one.
The feature that has made Unity 3D a popular game is the delivery quality of 3D. It delivers a complete 3D game experience to the users and this is the reason it is considered to be the best one to build the games.
Programming of Unity can be done in C#, Java and in other similar languages too. Unity is accessible for both 2D and 3D games too. Creating Unity 3D games does not demand you to have coding experience, the only thing which needs to be taken care of is accurately following the process of creating the game.
The steps to create 3D games are as stated below:
1. Start with creating a new Project.
2. Then it continues with customizing the layout and precisely defining the 3D models and scenes, hierarchy, project, game and the inspector.
3. Here you need to save the scene which will then help you in setting up the build as per the requirements.
4. The step ahead involves the major part of the process which is creation of the stage.
5. The process then continues with selecting the spheres in the hierarchy and creating a player followed by it.
6. Further select the player in the hierarchy and move it around.
7. The next step includes creation of an empty game object and adding lighting to it.
8. Set the camera angles finely.
9. The camera now needs to follow the player as the screen will move, make the required adjustments.
10. Create items including the Spheres, Cubes, Capsules or a Cylinder.
11. Setup in a way that helps players to collect the items and it ends with displaying the scores.
12. The process will end with creating the hazards and positing it around the arena. Try out the game at last to ensure if its working accurately or not.


