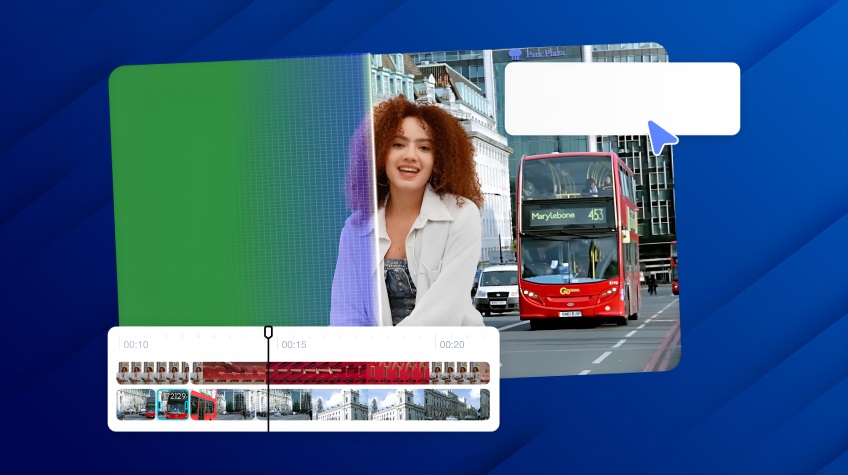
As a video creator, you know that the background sets the stage for your content. Whether you’re working on a YouTube video, a tutorial, or a professional presentation, changing or removing a video background can help elevate your content. In this guide, we’ll show you how to easily use a video background changer, remove unwanted backgrounds, and add a custom background to a video for that extra creative flair.
Why You Should Change Your Video Background
In the world of video content creation, the background can make or break the viewer’s experience. A poor background can distract from your message, while a well-chosen one can enhance it. Here are some key reasons to consider editing or swapping out your video backgrounds:
- Focus on the Subject: A cleaner background allows your viewers to focus on what truly matters—the content you’re presenting.
- Professional Appeal: Custom backgrounds provide a polished look, making your content appear more professional.
- Brand Identity: Using backgrounds that reflect your brand or message adds a layer of personalization to your videos.
Now, let’s walk through how to effectively use a video background changer and background remover for video.
Also Read: Best Video Editing Software
How to Use a Video Background Changer: A Simple Process
Changing or removing a video background is easier than you think. Here’s a simple breakdown of the process:
1. Upload Your Video
To get started, upload your video into the video editing tool. Most platforms support common formats such as MP4, MOV, and AVI, making it easy for creators to upload their content.
2. Remove the Existing Background
Once the video is uploaded, the next step is to remove the background. With the help of a background remover for video, the tool will automatically detect and separate the subject from the background. Whether you’re using a green screen or shooting in a natural environment, this process helps eliminate distractions.
Want to remove the background effortlessly? Check out this tool to remove video background.
3. Add a Custom Background to Your Video
After removing the old background, it’s time to add your own custom background. Whether you want a scenic view, a professional backdrop, or something completely unique, you can now place your subject in the environment that best suits your video’s tone. Learn more about how to add custom background to videohere.
4. Export Your Video
Once you’ve achieved the look you want, export the video in your preferred format. Tools typically offer several output options, allowing you to choose the best one for your video platform, such as YouTube or Instagram.
Key Benefits of Changing or Removing Video Backgrounds
Using a video background changer and background remover for video comes with several advantages:
1. Saves Time and Effort
Instead of spending hours adjusting your physical background or worrying about filming in a specific location, you can edit your video afterward. This makes content creation faster and more flexible.
2. Enhanced Aesthetics
By adding or removing backgrounds, you can enhance the overall visual appeal of your video. Whether you’re filming a product demo or a tutorial, a clean, relevant background can help your content shine.
3. More Professional-Looking Content
Replacing or removing backgrounds gives your video a more professional appearance, helping to distinguish your content from amateur productions.
4. Creative Freedom
Changing backgrounds allows you to express your creativity. Whether you want to simulate filming in a different location or create a virtual world, the possibilities are endless.
Creative Ways to Add Custom Backgrounds
Adding a custom background to your video opens up endless possibilities. Here are a few ideas to make the most of your backgrounds:
1. Match Your Content’s Mood
Choose backgrounds that complement the mood of your video. If you’re making an upbeat, fun video, opt for vibrant colors. For more serious or professional videos, neutral or dark backgrounds work best.
2. Keep It Simple
Avoid backgrounds that are too busy or distracting. A clean, simple backdrop can often make a stronger impact than something overly elaborate.
3. Align with Your Branding
If you’re a business or content creator, using branded backgrounds—like your company logo or a relevant design—can strengthen your identity and message.
Final Thoughts on Changing Video Backgrounds
Using a video background changer and background remover for video is an excellent way to improve the quality of your video content. It saves time, enhances professionalism, and provides creative flexibility. Whether you’re removing distractions or adding a custom background to video to align with your brand, these tools make the process quick and easy.
So, what are you waiting for? Dive into the world of background customization and start creating videos that stand out from the crowd.
Frequently Asked Questions
1. Do I need a green screen to remove the background?
Not necessarily. Many modern tools allow you to remove backgrounds without a green screen, though using one can make the process more accurate.
2. Can I use any video for background changes?
Yes! You can use most videos, including those recorded with green screens or in natural settings. The key is ensuring the tool you’re using supports the format and background removal features you need.
3. How do I know which background is right for my video?
Choosing the right background depends on the mood and purpose of your video. A simple background often works best to keep the focus on the subject, while custom backgrounds can add more personality or professionalism.
4. How long does it take to remove or change a video background?
The time required depends on the length and complexity of your video. However, with the right tools, you can change or remove backgrounds in just a few minutes.


